Optional Accessories for Capital Assets

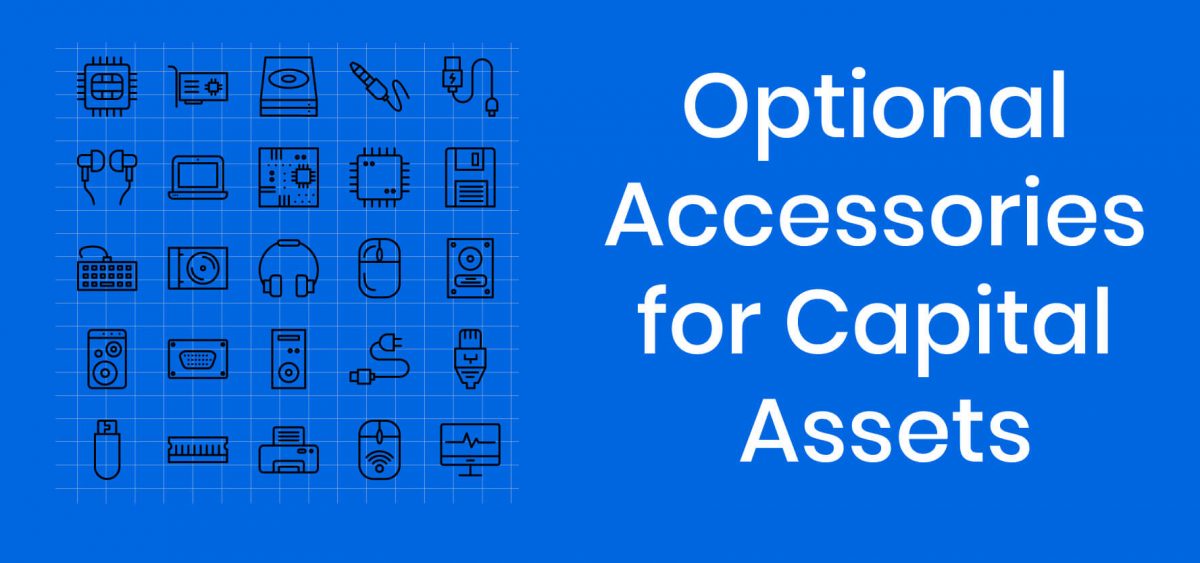
You can now add Optional Accessories to your Capital Assets in ExhibitDay.

Optional Accessories

Optional Accessories are supplemental add-on items that can be optionally requested when reserving a Capital Asset. The person making the reservation can specify the quantity for each Optional Accessory (depending on the specific nature of the reservation).

Example:
If the Asset is a Laptop Computer, the Optional Accessories could be a Carry-on Case, a Mouse, a Keyboard, or a Power Adapter; when a user reserves the Laptop, they may specify (1) Keyboard, and (2) Power Adapters to be included.

Adding Optional Accessories to Capital Assets

Optional Accessories for a Capital Asset can be configured from the Asset Edit page (in the Manage Assets area).

Configuring Optional Accessories for a Capital Asset

The Maximum Quantity (that can be requested)

The Maximum Quantity (that can be requested) is the maximum number of units of an Optional Accessory that can be specified (by the person making the reservation) when reserving the underlying Asset.

Example:
If the Asset is a Laptop Computer and the Optional Accessory is a Power Adapter, and you want users to be able to request a maximum of only 2 Power Adapters when reserving the Laptop, then set the value of its Maximum Quantity to 2.

The Default Quantity

The Default Quantity is the quantity (of the Optional Accessory) that is selected by default when making a new reservation for the underlying Asset.

Example:
If the Asset is a Laptop Computer and the Optional Accessory is a Power Adapter with a Default Quantity of (1), whenever a new reservation for the Laptop Computer is made, by default the system will select (1) as the quantity for the Power Adapter. The user making the reservation may choose to change that quantity (depending on the specific nature of that reservation).

Note: If you don’t want to set a Default Quantity (i.e. you want the person reserving the underlying Asset to decide how many units of this Accessory they want to include in the reservation), then enter 0 for the Default Quantity.

The Availability Status

The Availability Status of an Optional Accessory determines whether or not the Accessory is available when making new reservations for the underlying Asset.

If the Availability Status is set to ‘Active/Available’, then the Optional Accessory is included in the list of selectable Accessories.

If the Availability Status is changed to ‘Temporarily Unavailable’, then the Optional Accessory will not be included in the list of selectable Accessories (for any new reservations of the underlying Asset).

Requesting Optional Accessories when Making a Reservation

If a Capital Asset has Optional Accessories configured, the Asset Reservation screen will allow the user to select the quantity for each Optional Accessory they would like to add-on to the reservation.

Selecting Accessories when Reserving and Asset

Optional Accessories in the Inventory Pull Sheet

If a reservation for a Capital Asset has Optional Accessories specified, the Requested Accessories will be listed on the Pull Sheet.

Asset Pull Sheet with Optional Accessories

Important Notes

  1. An Optional Accessory cannot be reserved by itself; it is something that can be optionally added-on only when reserving the underlying Asset.
  2. Optional Accessories are not tracked like Assets; the system does not keep track of the status, the storage location, or inventory levels (available quantities) of Optional Accessories. It is assumed that there is typically sufficient inventory available in storage to fulfill the requested number of Optional Accessories for a given reservation. If tracking the status and inventory levels of an item are required, that item should be entered as its own stand-alone Asset.
  3. ‘Required parts’ of an Asset should not be entered as Optional Accessories. For example, if the Asset is a Booth, and its parts always consist of Frames/Panels/Rolling Case/Lights (which collectively make up the Asset), do not enter these parts as Optional Accessories; the required parts can be specified in the ‘Pull Notes’ textbox (when Editing the Asset Information).

Sign up for a free ExhibitDay account to plan your trade shows, manage your trade show assets, and collaborate on tasks with your event team.

Asset Pull Notes

You can now specify Pull Notes for your Assets in ExhibitDay.

Pull Notes are instructions for pulling an Asset from storage. For example, Pull Notes can include specific instructions for packing the Asset, or, specify the mandatory parts that should be included.

Pull Notes can be specified when editing an Asset (in the [Manage Assets] area).

Inventory Pull Notes

When you generate an Asset Pull Sheet that includes a reservation for an Asset that has Pull Notes specified, the Pull Notes will be included on the Pull Sheet (under the line-item for the Asset).

Asset Pull Notes


Sign up for a free ExhibitDay account to plan your trade shows, manage your trade show assets, and collaborate on tasks with your event team.

The Expert Grid

You can now view your list of events in ExhibitDay in a customizable grid format.

Use View Preferences drop-down (top-right corner of the main Events page) to switch to the Expert Grid view.

Expert Grid View of Trade Shows and Exhibits

Customizing the Grid

You can customize the Expert Grid to show the majority of the built-in event fields as well as any custom fields you may have configured under the Event [Info] and [Booth] tabs. The grid columns are sortable, filterable, groupable, and resizable.

Adding Columns to the Grid

You can add additional columns to the grid using the drop-down menu from any of the column headers. The new columns that you add appear in the right (unlocked) section of the grid.

Pro tip: In addition to the built-in ExhibitDay Event fields, you can add any custom fields you have configured under the Event [Info] and [Booth] tab.

Add column to the Events Grid

Moving Columns

You can change the position of a column by click-and-dragging the column’s header.

Resizing Columns

You can resize a column by click-and-dragging its right border.

Resizing a grid column

Locked Columns

Locked columns are frozen columns on the left section of the grid. Locked columns stay frozen on the screen as you scroll to the right section of the grid to view the remaining/unlocked columns.

How to Lock a Column

You can lock an unlocked column by either:

  • Click-and-dragging the column header into the left header section, or,
  • Using the column header drop-down menu.

Advanced Options (Filtering and Grouping)

You can filter your list of events using the filter button located on the top-right corner of the main events page. These filters are the most commonly used filters and cover the majority of use-cases. If you wish to enable additional filters on the grid, you can enable column-level filtering (and grouping) under the grid’s Advanced Options (accessible from the grid settings menu located at the top-right corner of the grid).

Full-Screen Mode

You can view the grid in Full-Screen mode using the full screen toggle button (located at the top-right corner of the grid).

Pagination

By default, the grid is paginated by groups of 50 events per page. You can use the navigation controls at the bottom of the grid to change the default page size and navigate through the pages.

Resetting the Grid Layout Back to Default Settings

For your convenience, ExhibitDay automatically saves the layout changes you make to the grid (e.g. when you add/lock/resize columns) so that the grid looks the same whenever you come back to it. You can reset the grid back to its original/default settings from the grid settings menu    (located at the top-right corner of the grid).

Video Tutorial

Grouping Events by Month and Participation Status

Steps:
  1. Make sure Grouping is enabled in your Grid Settings.
  2. Add the Event Month Column to the Grid.
  3. Group by Event Month and Participation.

Sign up for a free ExhibitDay account to plan your trade shows, manage your trade show assets, and collaborate on tasks with your event team.

Custom Field: Drop-Down List

You can now add Drop-Down Lists as custom fields in your ExhibitDay Workspace.

To add a custom Drop-Down List to the Event [Info] tab or the Event [Booth] tab, go to Workspace Settings > Customize Event Fields. There, you can add a new Drop-Down List and specify its name, as well as the list of available options.

Custom Field: Drop-Down List

Once a custom Drop-Down List has been added to your ExhibitDay Workspace, it will automatically show up under each event’s Info/Booth tab.

Sign up for a free ExhibitDay account to plan your trade shows, manage your trade show assets, and collaborate on tasks with your event team.