You can now specify a ‘Description’ for each Date/Time entry listed under the Exhibit Hall and Booth Setup/Dismantle sections of the Event Info tab. To specify a description for a Date/Time entry, click the ‘Add description’ link listed directly underneath the Date/Time row. The description field can be used to track notes (e.g. ‘Vendor Reception’, ‘Coffee Break / Dedicated Viewing’, etc.).
You can now add Optional Accessories to your Capital Assets in ExhibitDay.
Optional Accessories
Optional Accessories are supplemental add-on items that can be optionally requested when reserving a Capital Asset. The person making the reservation can specify the quantity for each Optional Accessory (depending on the specific nature of the reservation).
Example: If the Asset is a Laptop Computer, the Optional Accessories could be a Carry-on Case, a Mouse, a Keyboard, or a Power Adapter; when a user reserves the Laptop, they may specify (1) Keyboard, and (2) Power Adapters to be included.
Adding Optional Accessories to Capital Assets
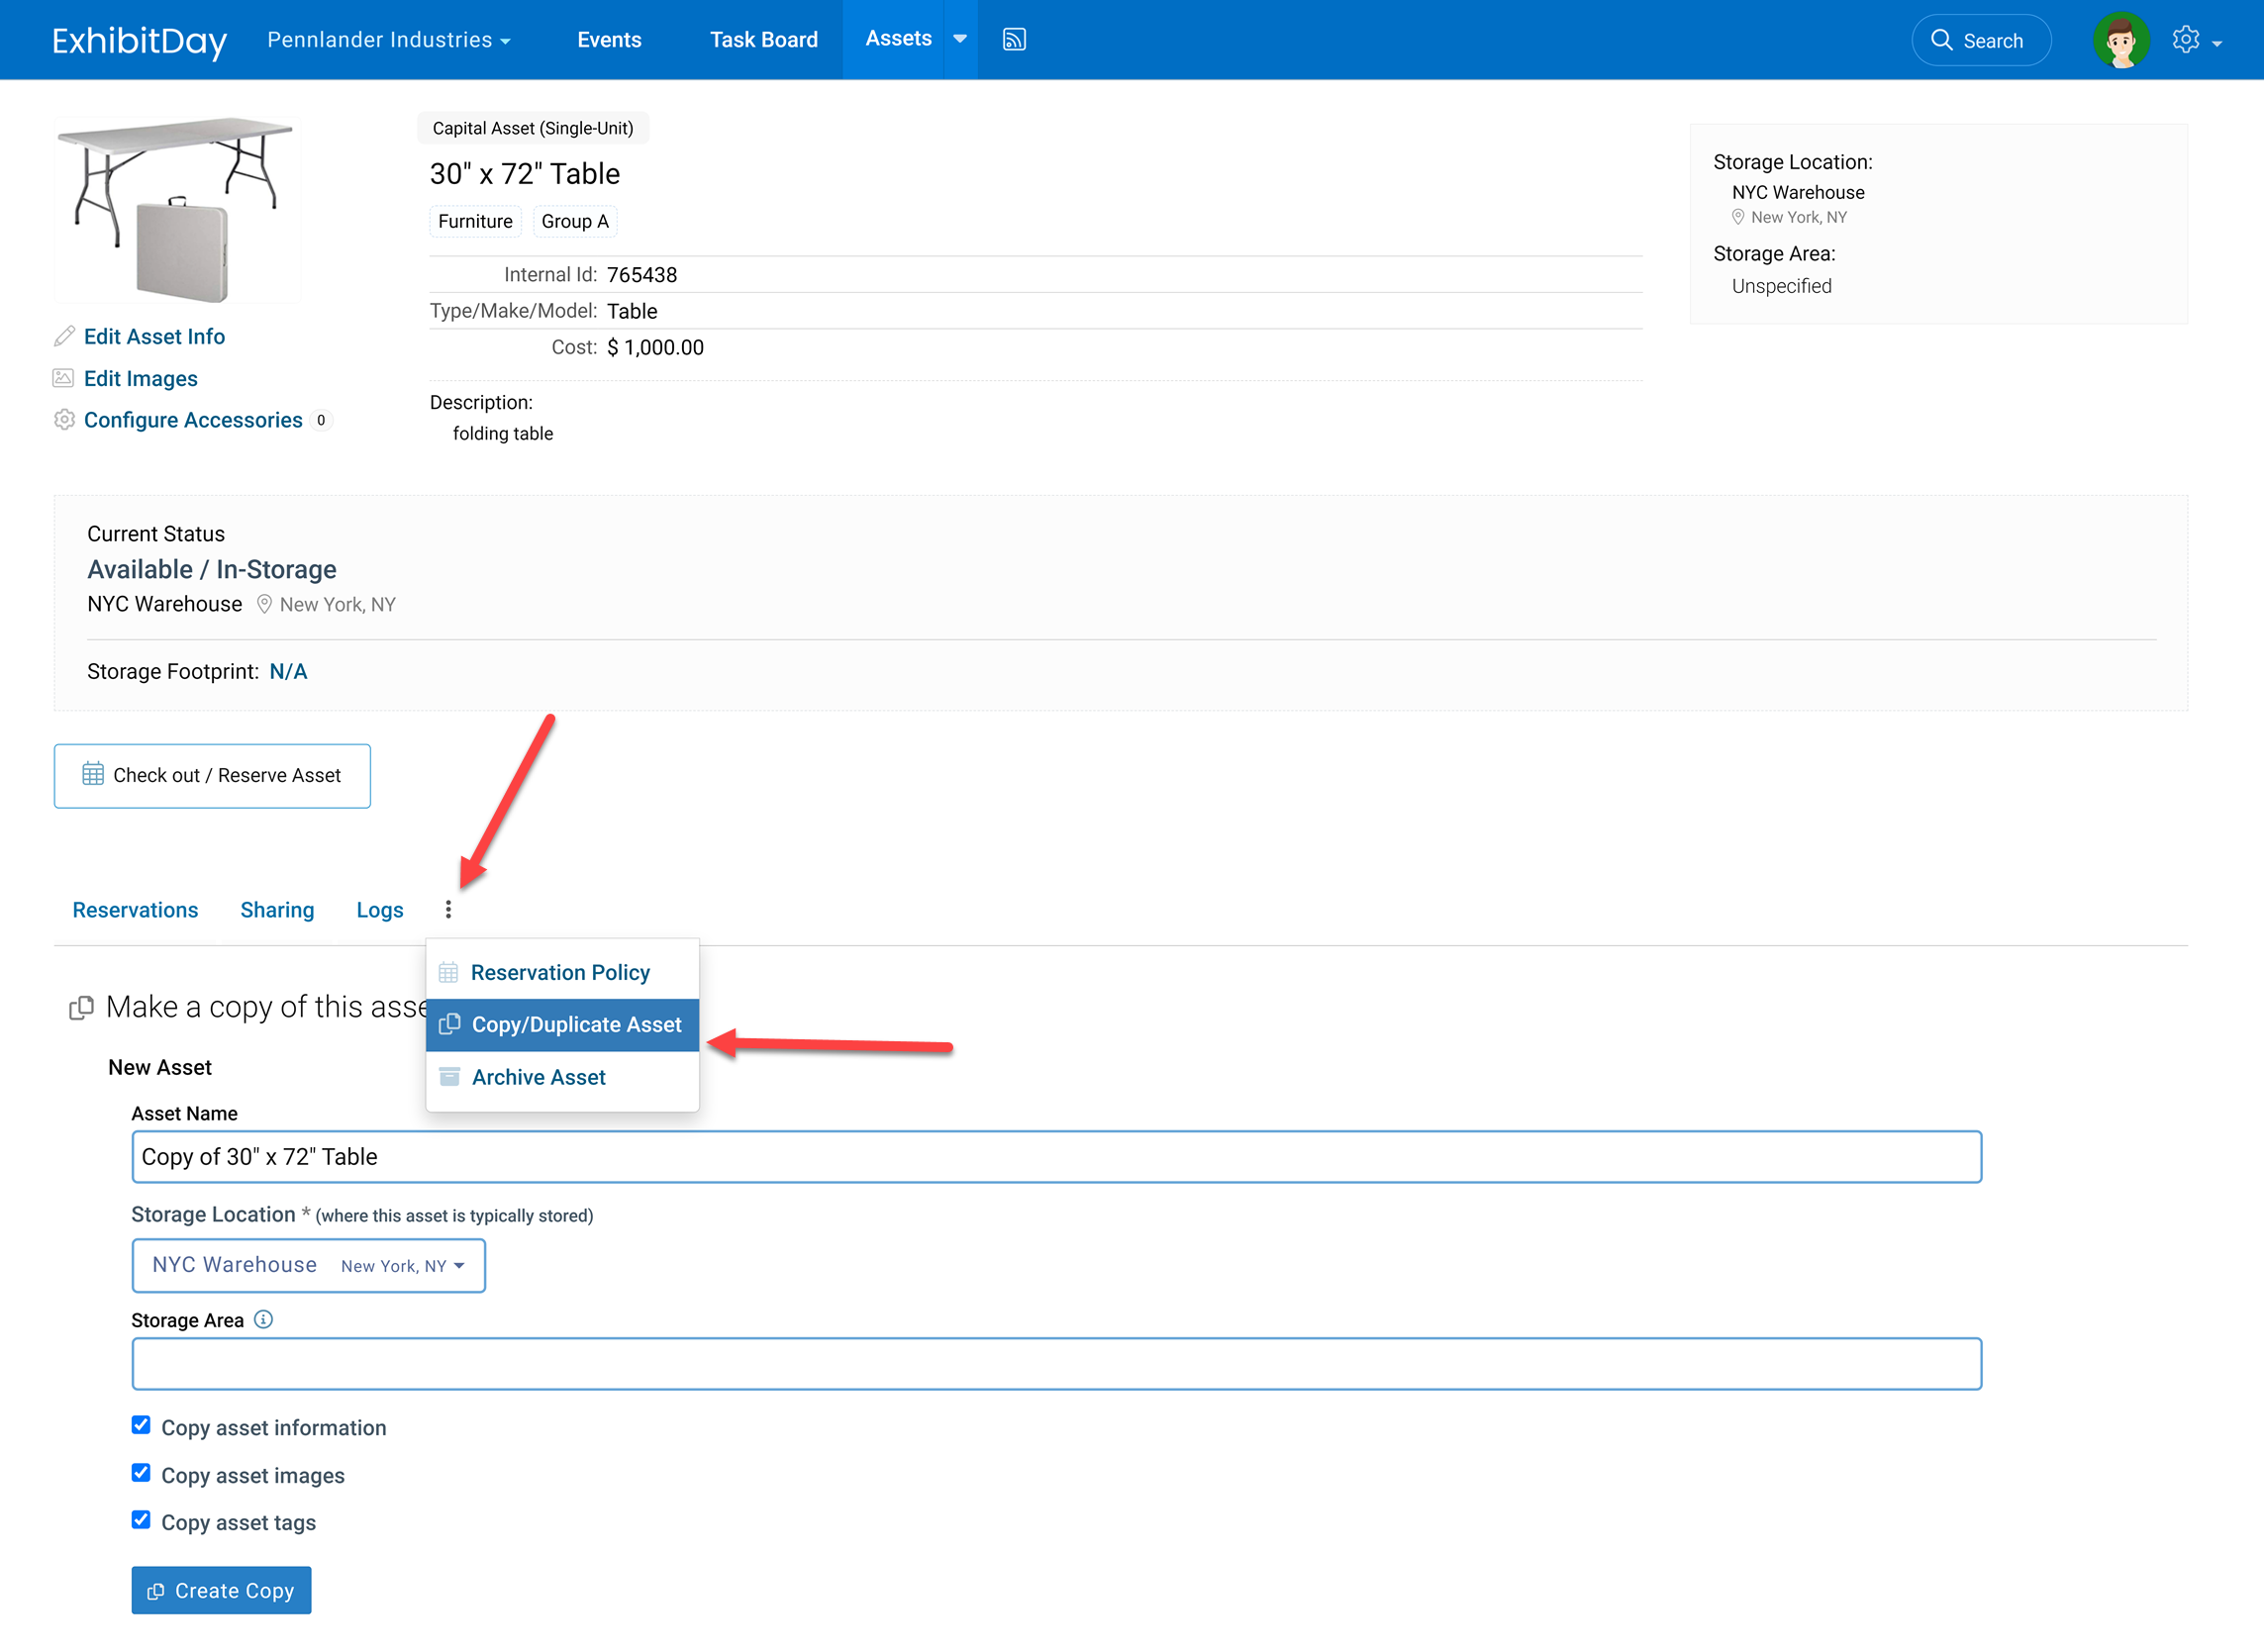
Optional Accessories for a Capital Asset can be configured from the Asset Edit page (in the Manage Assets area).
The Maximum Quantity (that can be requested)
The Maximum Quantity (that can be requested) is the maximum number of units of an Optional Accessory that can be specified (by the person making the reservation) when reserving the underlying Asset.
Example: If the Asset is a Laptop Computer and the Optional Accessory is a Power Adapter, and you want users to be able to request a maximum of only 2 Power Adapters when reserving the Laptop, then set the value of its Maximum Quantity to 2.
The Default Quantity
The Default Quantity is the quantity (of the Optional Accessory) that is selected by default when making a new reservation for the underlying Asset.
Example: If the Asset is a Laptop Computer and the Optional Accessory is a Power Adapter with a Default Quantity of (1), whenever a new reservation for the Laptop Computer is made, by default the system will select (1) as the quantity for the Power Adapter. The user making the reservation may choose to change that quantity (depending on the specific nature of that reservation).
Note: If you don’t want to set a Default Quantity (i.e. you want the person reserving the underlying Asset to decide how many units of this Accessory they want to include in the reservation), then enter 0 for the Default Quantity.
The Availability Status
The Availability Status of an Optional Accessory determines whether or not the Accessory is available when making new reservations for the underlying Asset.
If the Availability Status is set to ‘Active/Available’, then the Optional Accessory is included in the list of selectable Accessories.
If the Availability Status is changed to ‘Temporarily Unavailable’, then the Optional Accessory will not be included in the list of selectable Accessories (for any new reservations of the underlying Asset).
Requesting Optional Accessories when Making a Reservation
If a Capital Asset has Optional Accessories configured, the Asset Reservation screen will allow the user to select the quantity for each Optional Accessory they would like to add-on to the reservation.
Optional Accessories in the Inventory Pull Sheet
If a reservation for a Capital Asset has Optional Accessories specified, the Requested Accessories will be listed on the Pull Sheet.
Important Notes
An Optional Accessory cannot be reserved by itself; it is something that can be optionally added-on only when reserving the underlying Asset.
Optional Accessories are not tracked like Assets; the system does not keep track of the status, the storage location, or inventory levels (available quantities) of Optional Accessories. It is assumed that there is typically sufficient inventory available in storage to fulfill the requested number of Optional Accessories for a given reservation. If tracking the status and inventory levels of an item are required, that item should be entered as its own stand-alone Asset.
‘Required parts’ of an Asset should not be entered as Optional Accessories. For example, if the Asset is a Booth, and its parts always consist of Frames/Panels/Rolling Case/Lights (which collectively make up the Asset), do not enter these parts as Optional Accessories; the required parts can be specified in the ‘Pull Notes’ textbox (when Editing the Asset Information).
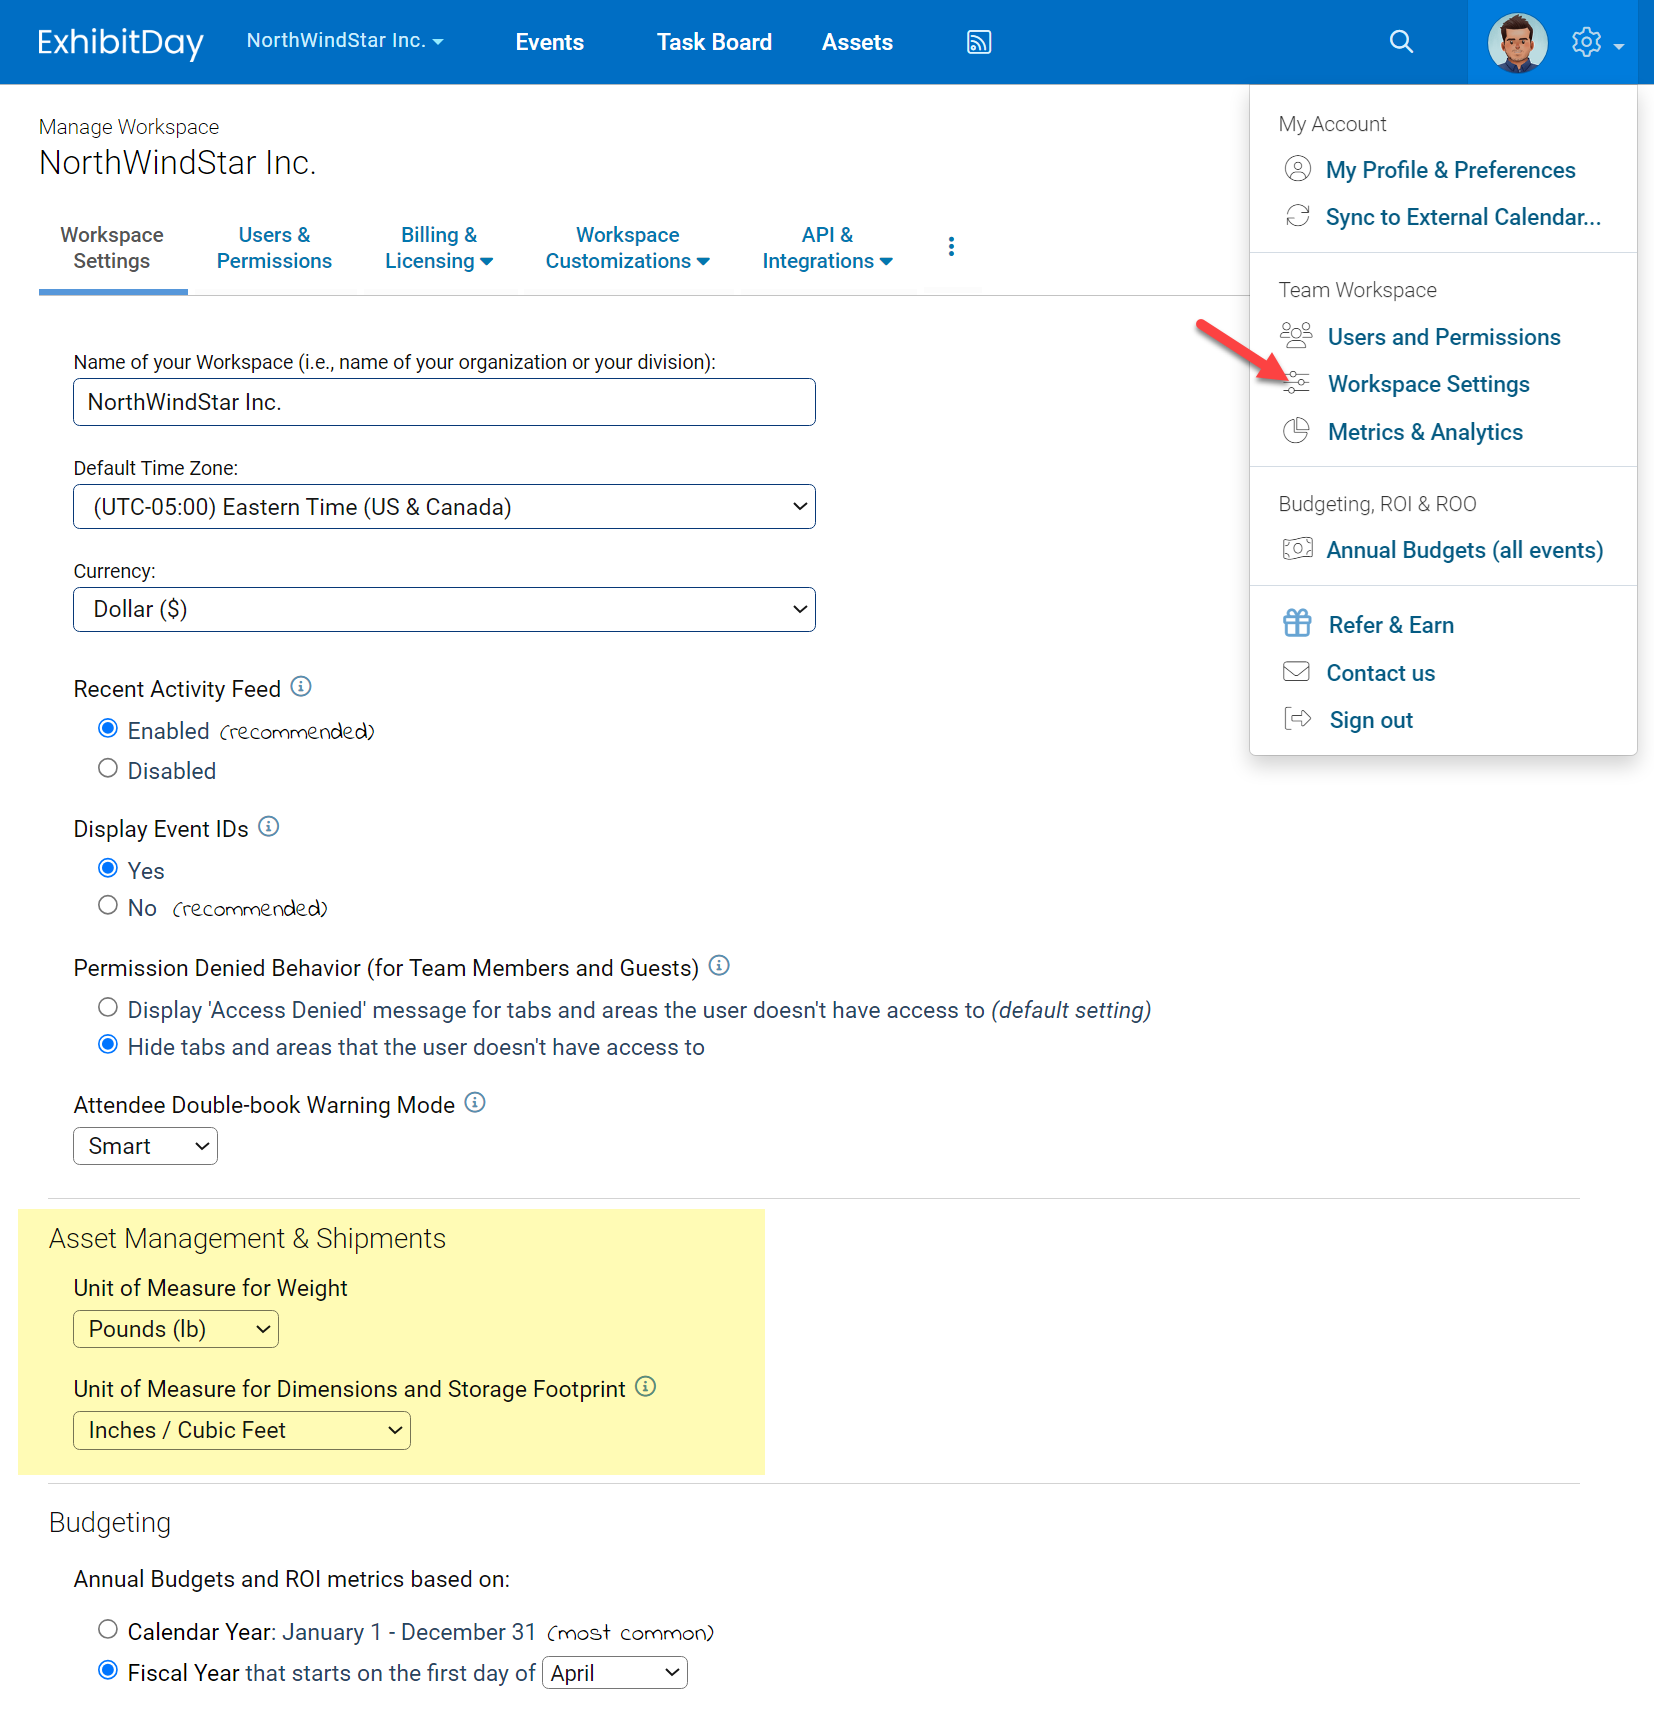
As an Admin of your ExhibitDay Workspace, you can now Impersonate (Log-in As) other Team Members and Guests in your ExhibitDay Workspace.
Impersonation
Use the “Impersonate” link under the Edit menu next to a Team Member or a Guest in your Workspace to log-in as them (under Workspace Settings > Users & Permissions).
The ability to Impersonate is only offered to ExhibitDay Workspaces that are on the Enterprise plan. If you wish to enable this feature, please contact us about setting up a custom Enterprise engagement with your organization.
You can now add Drop-Down Lists as custom fields in your ExhibitDay Workspace.
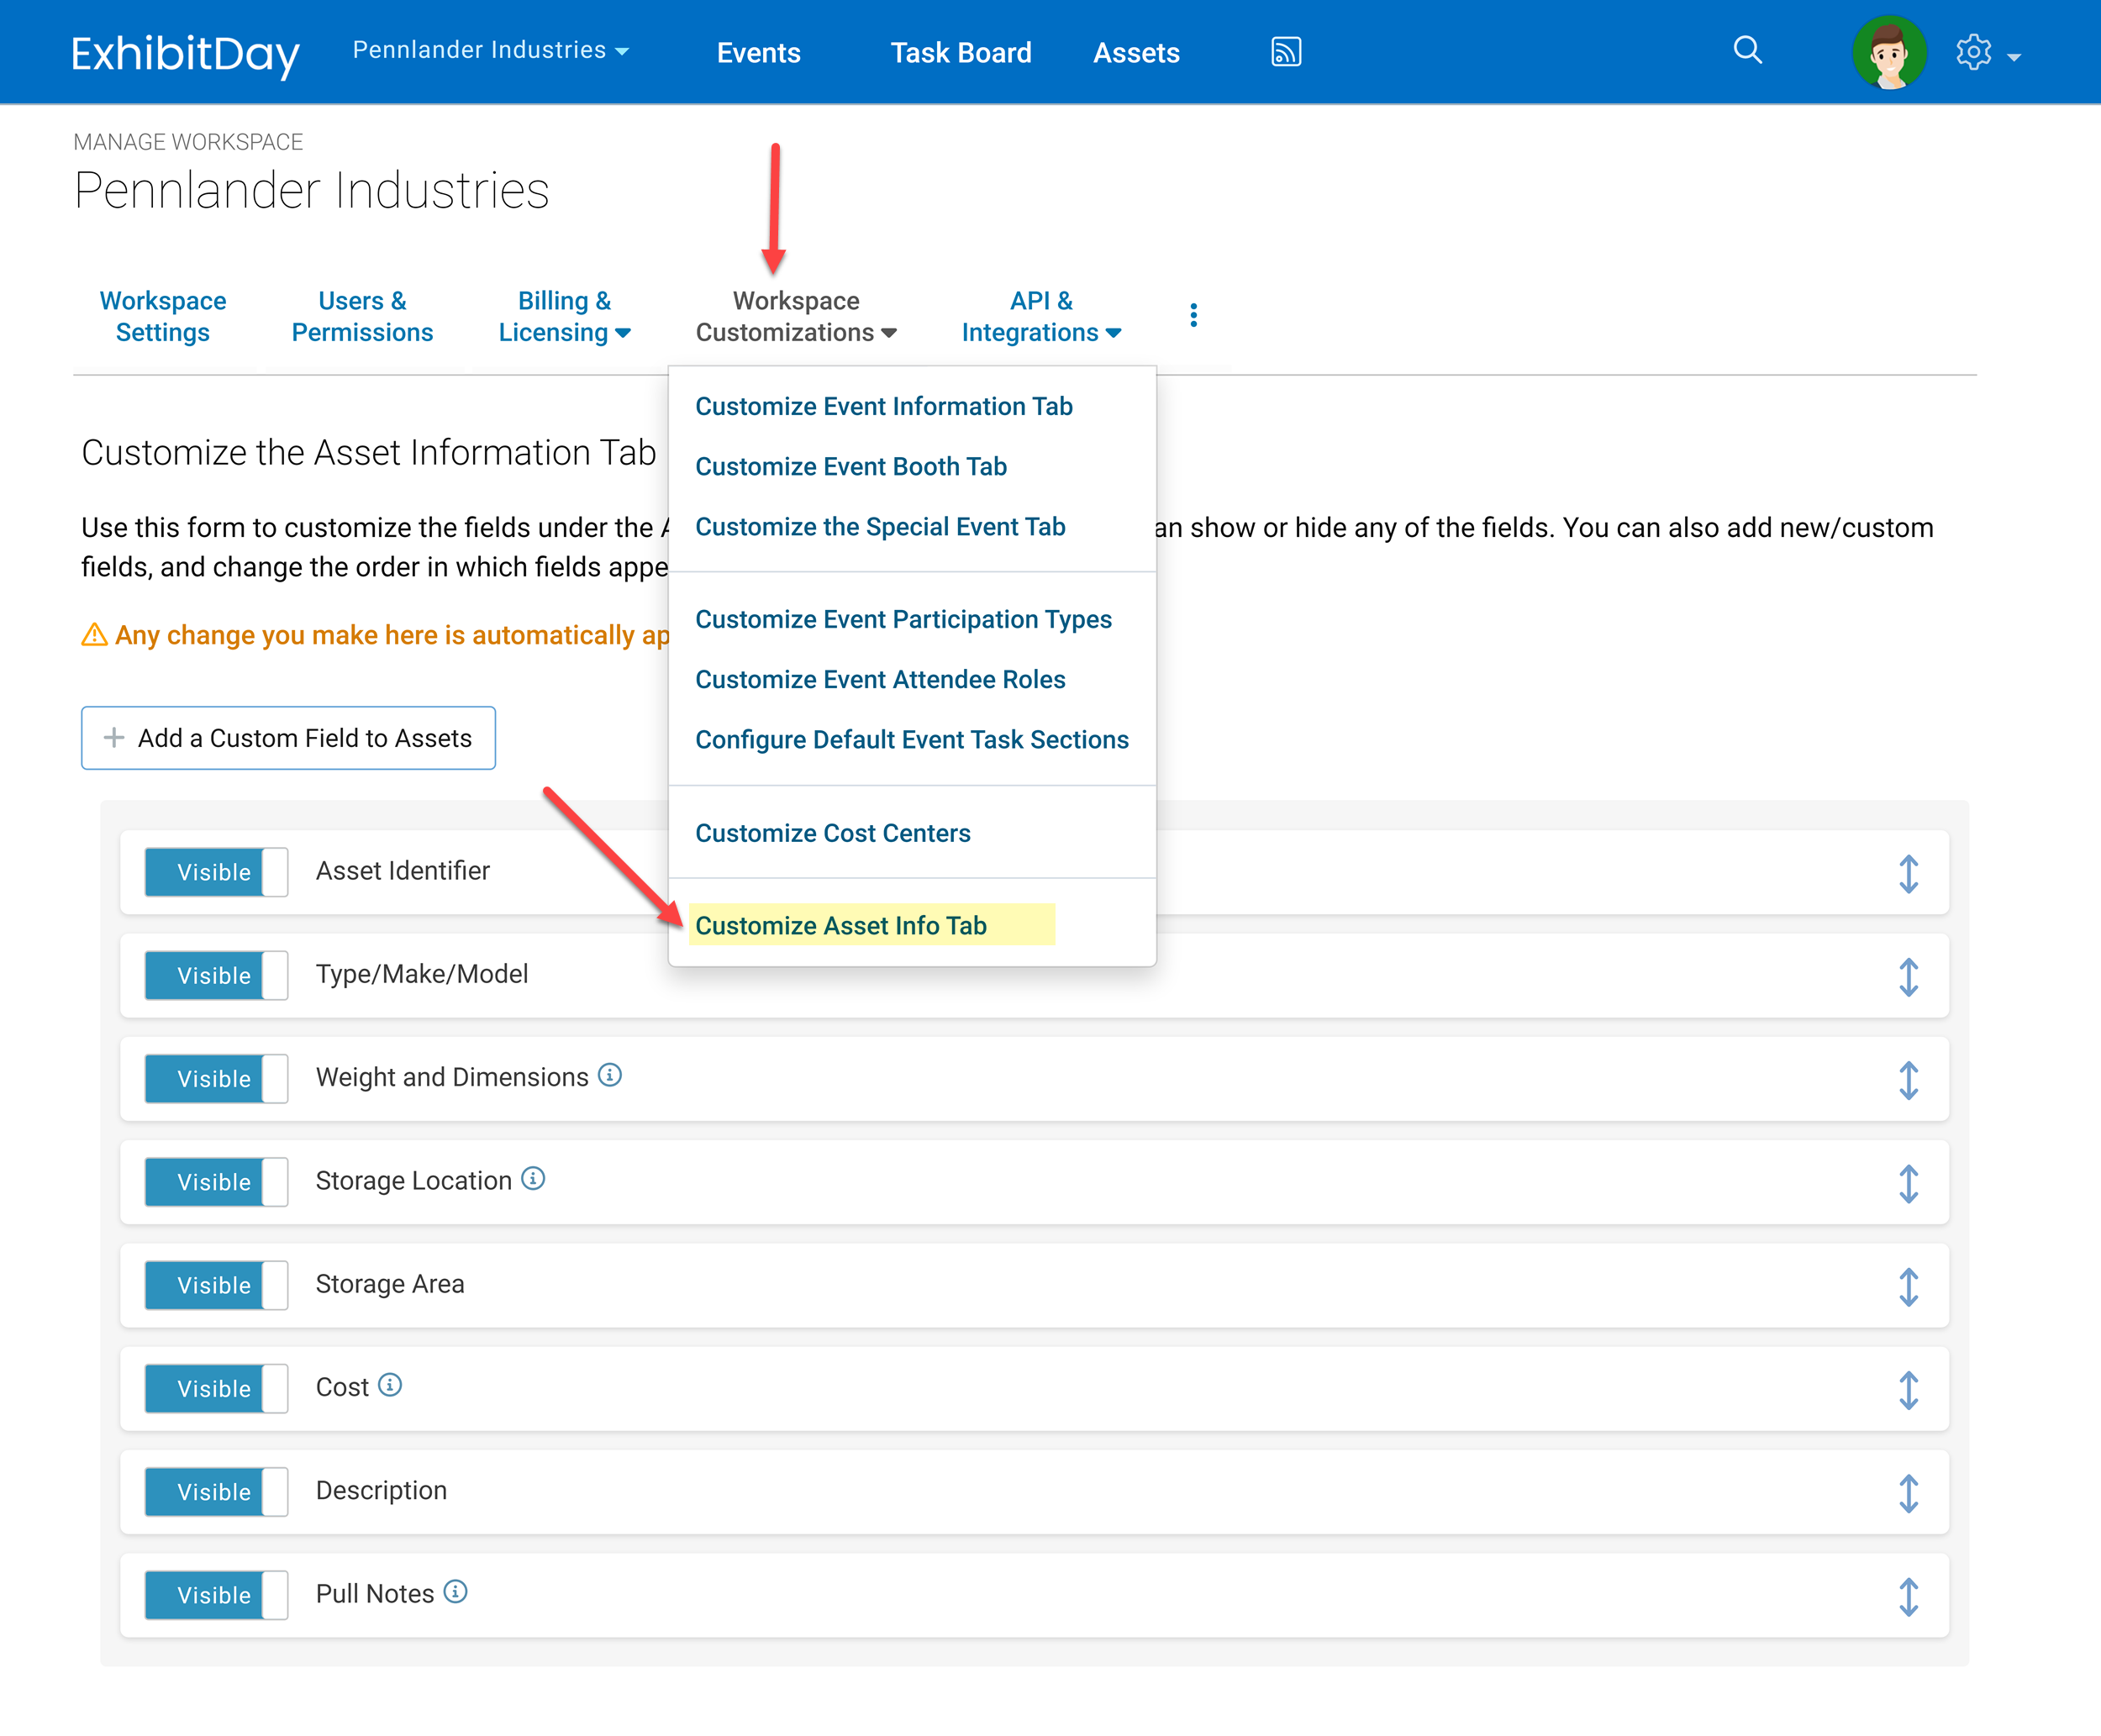
To add a custom Drop-Down List to the Event [Info] tab or the Event [Booth] tab, go to Workspace Settings > Customize Event Fields. There, you can add a new Drop-Down List and specify its name, as well as the list of available options.
Once a custom Drop-Down List has been added to your ExhibitDay Workspace, it will automatically show up under each event’s Info/Booth tab.