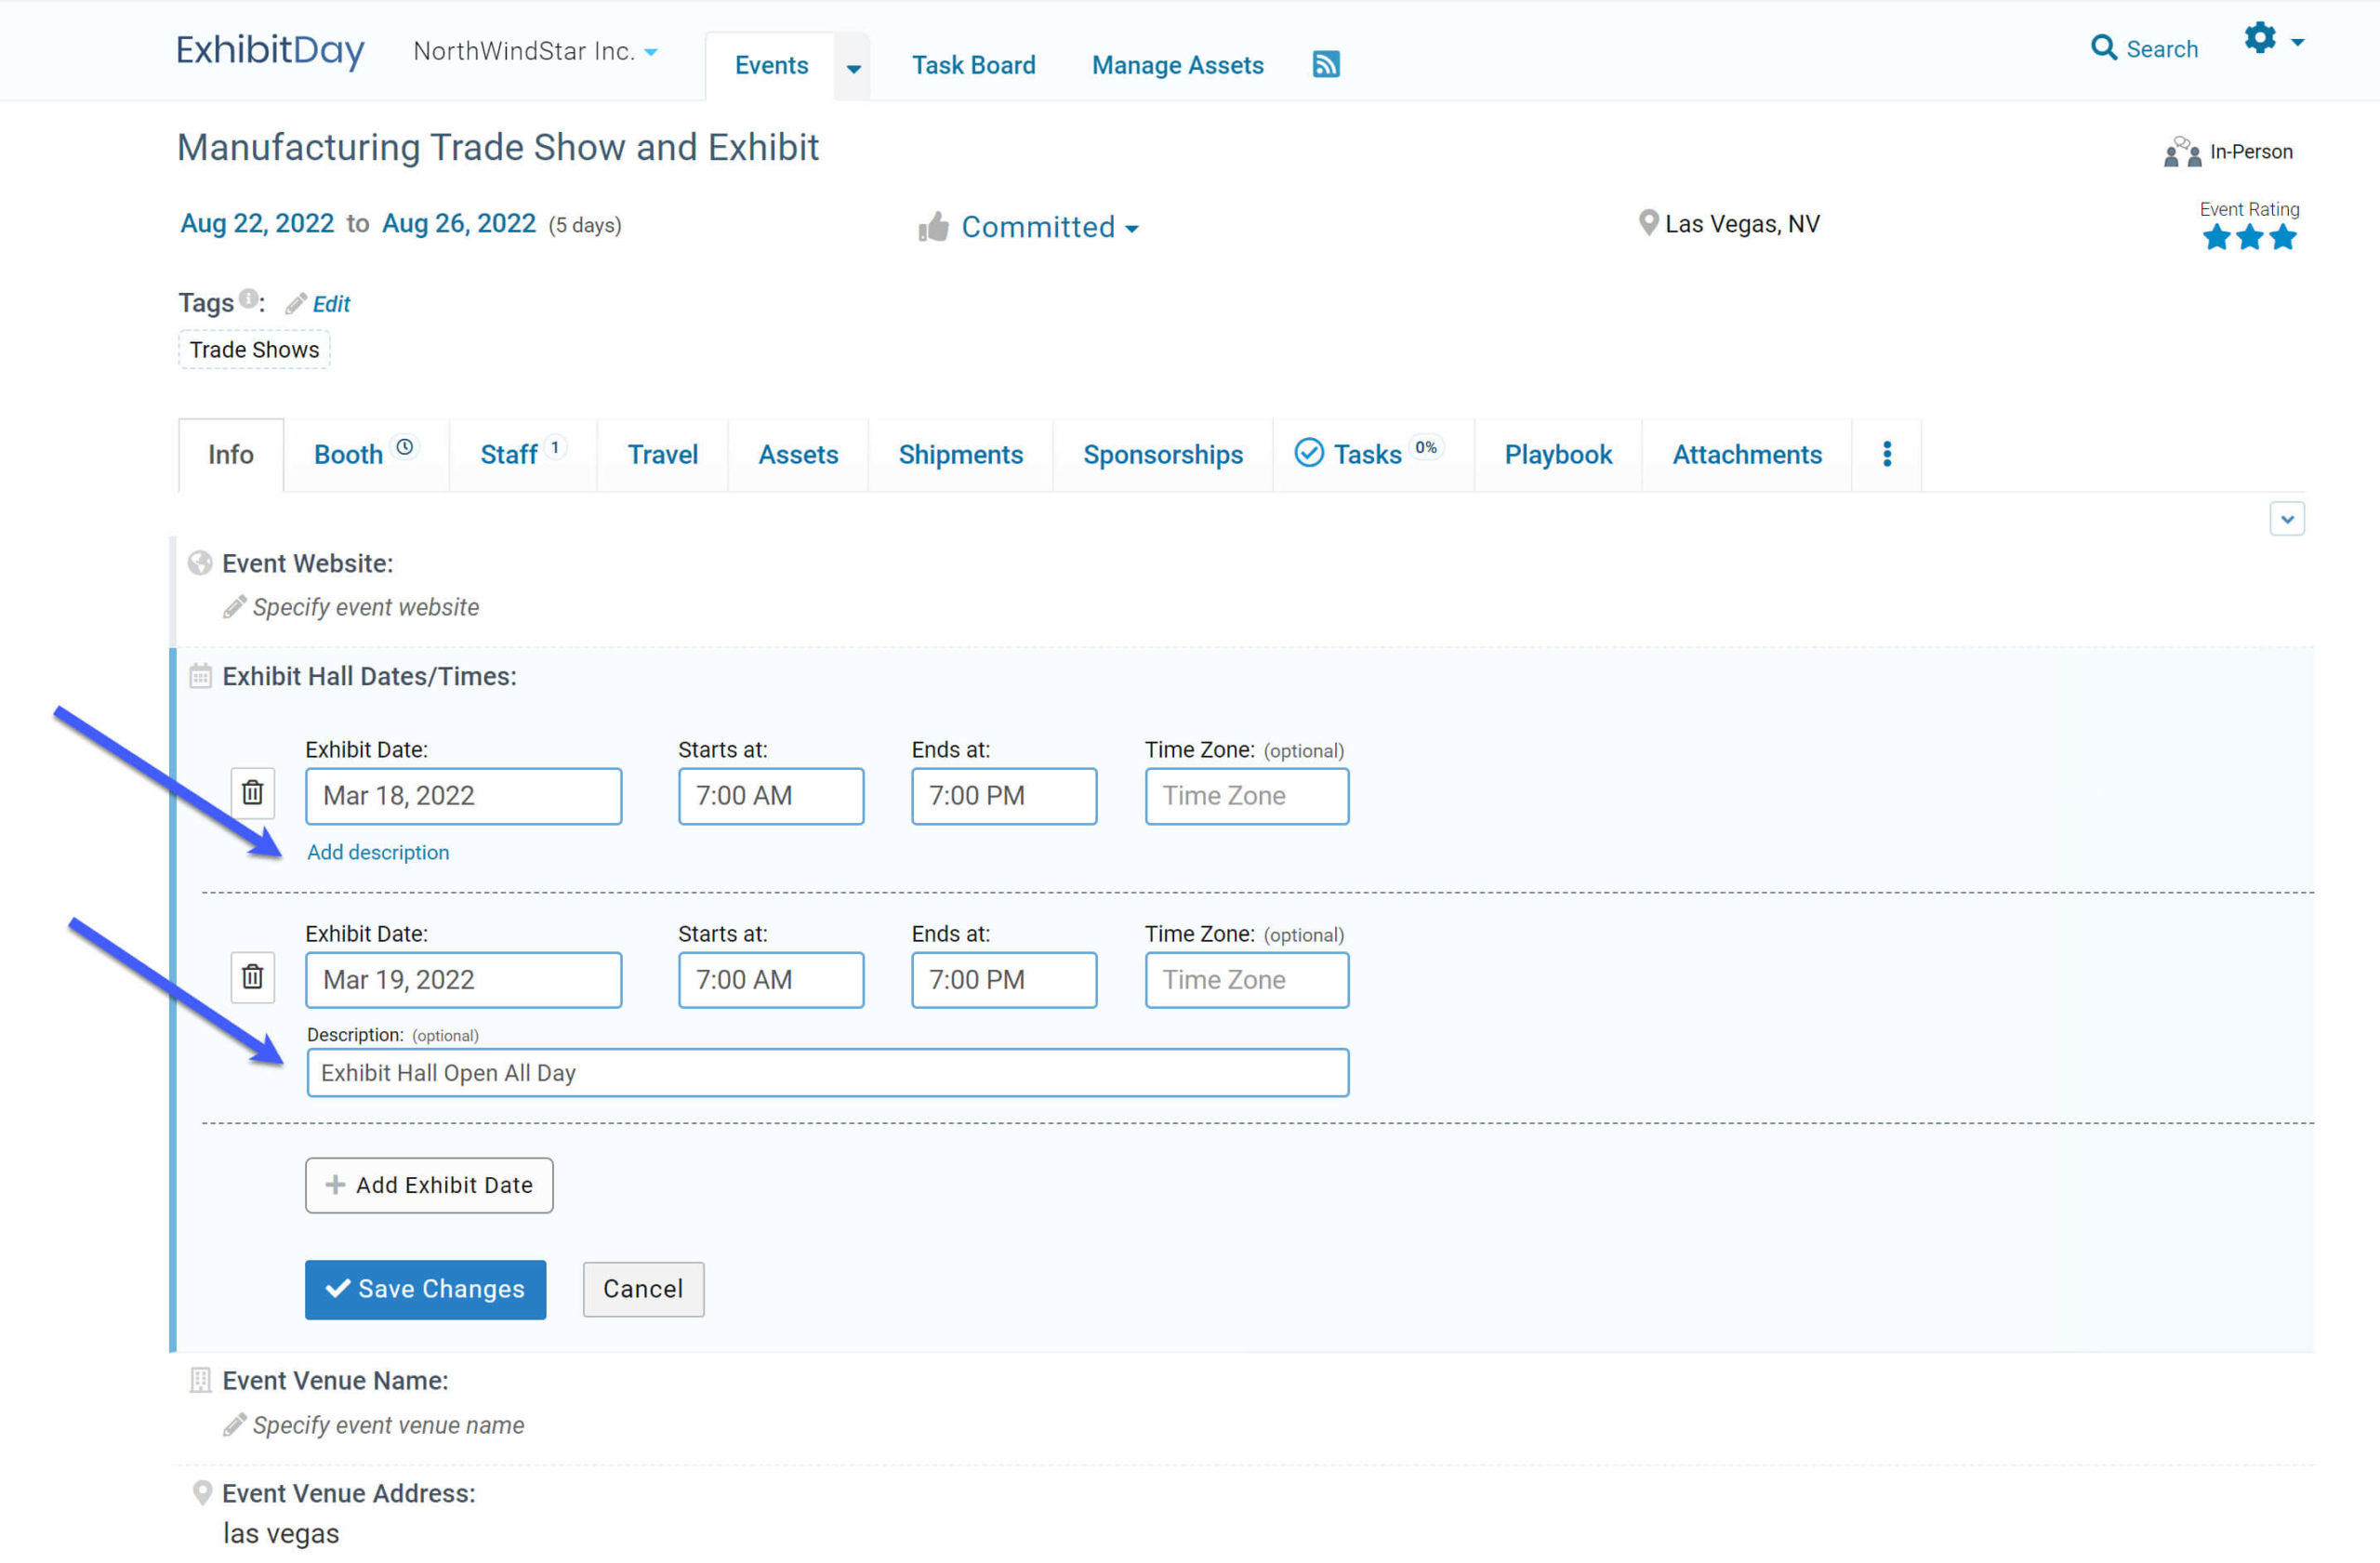
You can now add custom Date/Time fields to the “Info” and “Booth” tabs of your Events in ExhibitDay.

Custom Date/Time Field Types
There are 6 different Date/Time field types that you can add to your events.
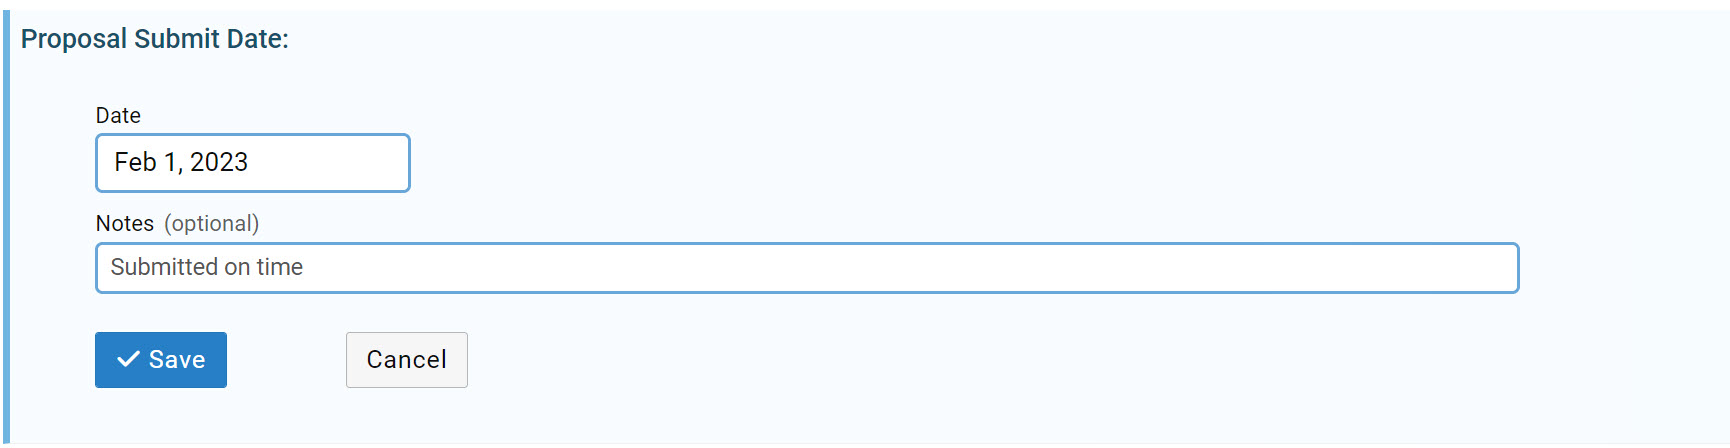
1. Date
The Date field adds a Calendar control to your events. There is also an optional Notes field that can be used to add notes about the selected date.
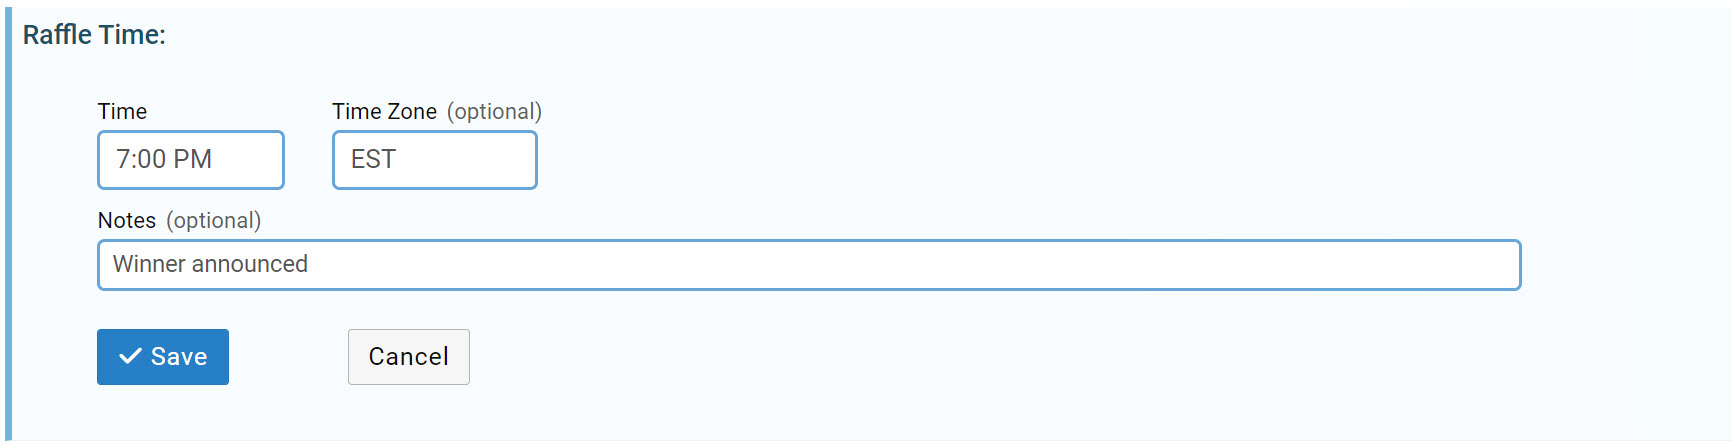
2. Time
The Time field adds a time-selector control to your events. The custom Time field also comes with an optional Time Zone field and an optional Notes field.
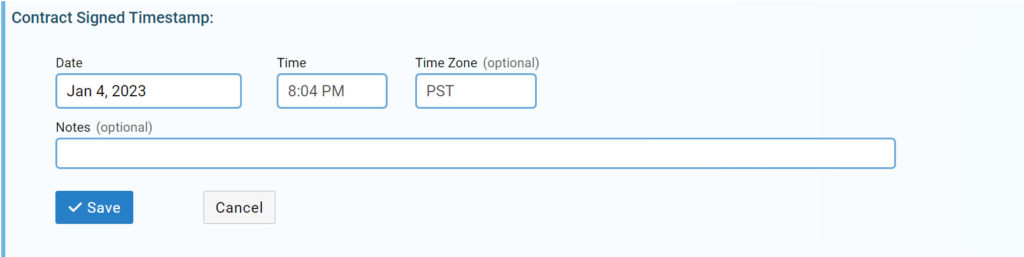
3. Date + Time
The “Date + Time” custom field lets you specify a date and a time (i.e. a timestamp). This field provides a calendar control for selecting a date and a time-selector control for specifying a time. This custom field also comes with an optional Time Zone field and an optional Notes field.
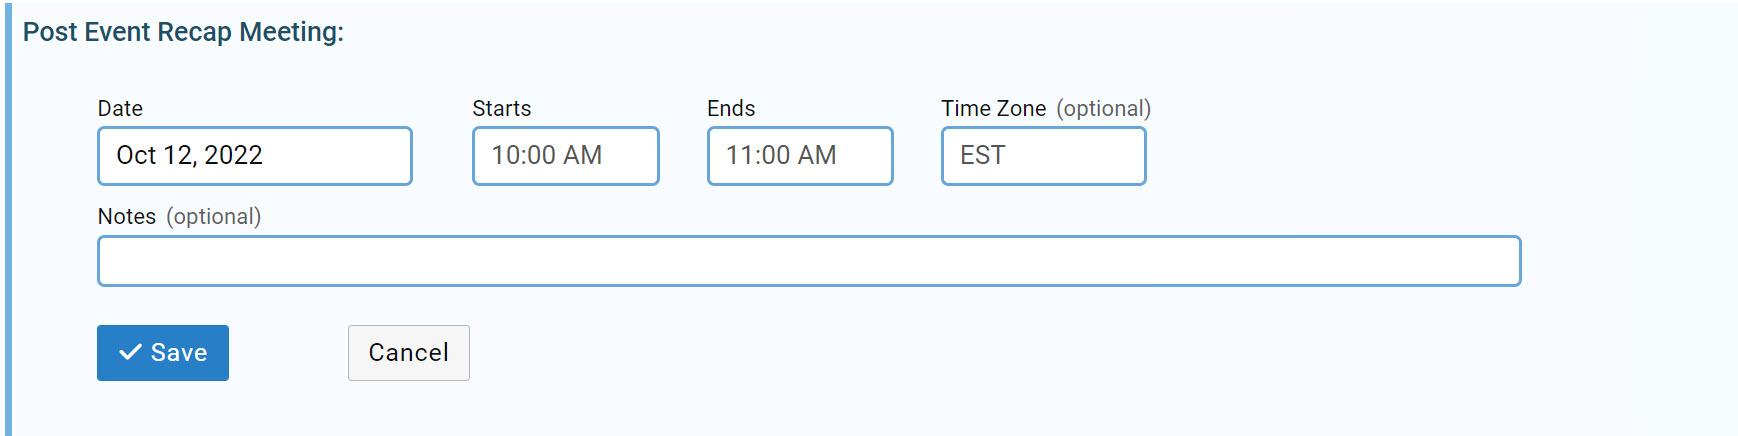
4. Date + Time Period
The “Date + Time Period” custom field lets you specify a date and start/end times. This field provides a calendar control for selecting a date and time-selector controls for specifying a start time and an end time. This custom field also comes with an optional Time Zone field and an optional Notes field.
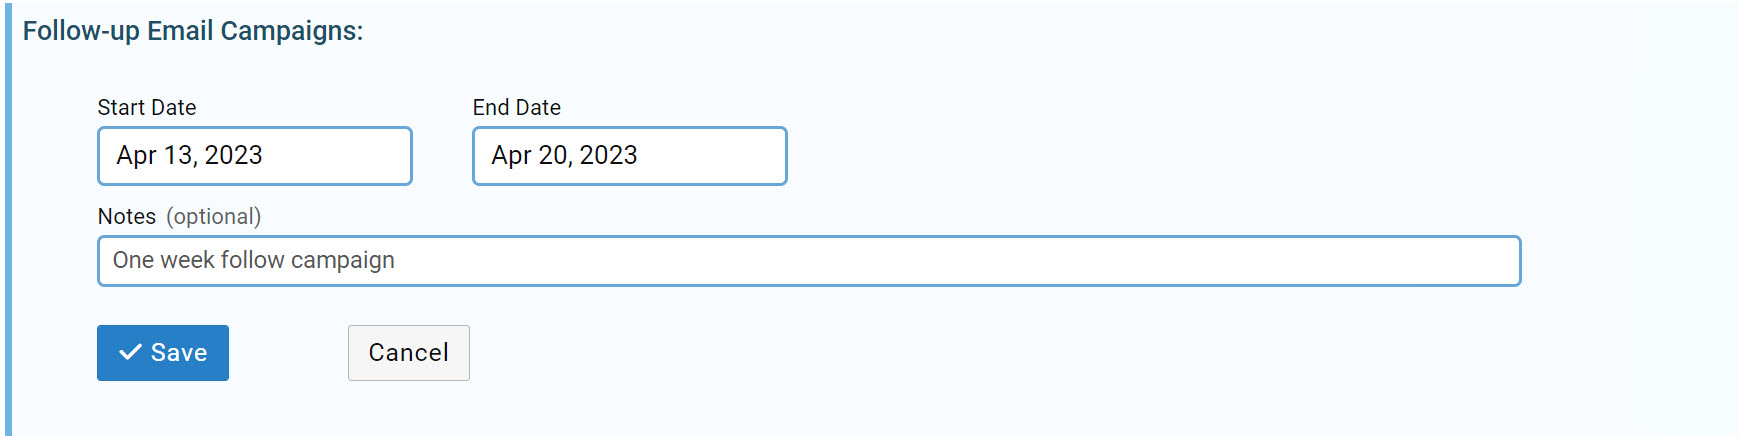
5. Date Range
The “Date Range” custom field lets you specify a start date and an end date using calendar controls. This custom field also comes with an optional Notes field.
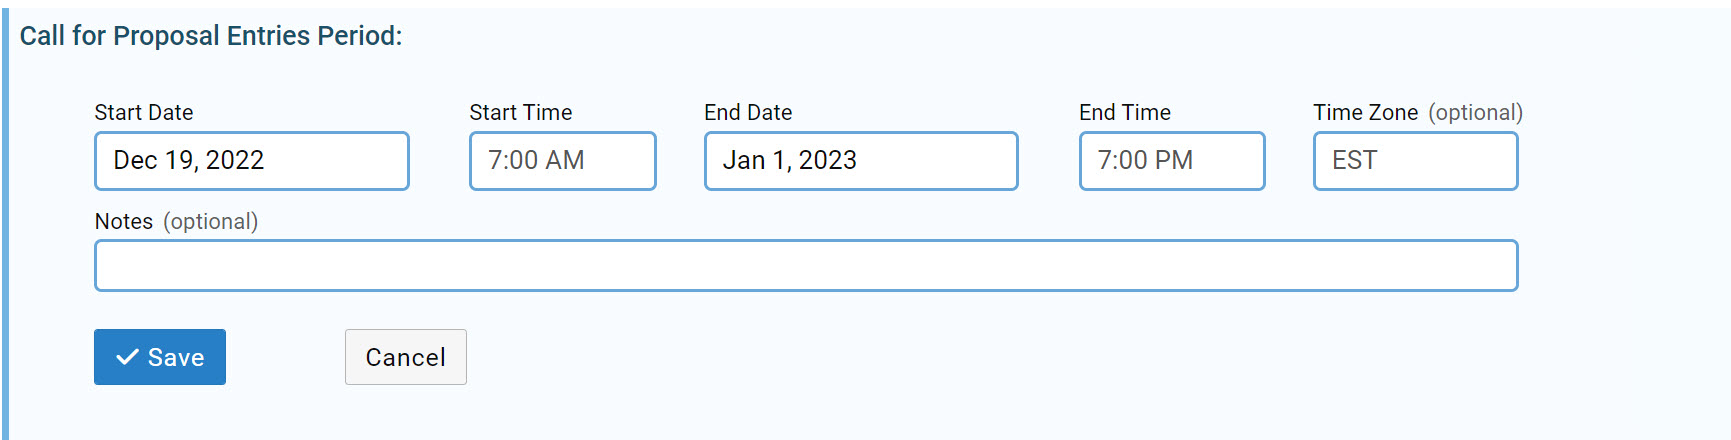
5. Date Range with Time
The “Date Range with Time” custom field lets you specify a start date/time and an end date/time using calendar and time-selector controls. This custom field also comes with an optional Time Zone field and an optional Notes field.