Managing Storage Locations for Trade Show Assets

You can manage your Storage Locations for your Assets in ExhibitDay by expanding the [Manage Assets] dropdown menu. On the Storage Locations page, you can add a new Storage Location, or, browse to existing Storage Locations in your ExhibitDay workspace.

Storage Locations for Trade Show Assets

Storage Location Details

When you click on any of your existing Storage Locations, you’ll be taken to the Storage Location Details page. On the Details page, you’ll see:

  • A list of your Capital Assets stored at this location.
  • A list of your Collateral Transactions involving this location (i.e. all collateral inventory adjustments and event reservations for this location).
  • Logs – history of all transactions and reservations for this storage location.

You can edit the Storage Location’s name and address using the “Edit Location” link (towards the top of the page).

Storage Location Details - Trade Show Assets

Deleting a Storage Location

You can delete a Storage Location by clicking the [Delete this Location] link on the extended menu of the tab strip (on the Storage Location Details page).

Note: When deleting a Storage Location that has any Capital Asset(s) or Collateral Transaction(s) associated with it, prior to deleting the location, you must choose another location to transfer the associated Capital Asset(s) and Collateral Transaction(s) to.

Delete Asset Storage Location

Sign up for a free ExhibitDay account to plan your trade shows and manage your trade show assets.

Capital Asset Reservation Policy

Trade Show Capital Assets are Fixed Assets (like your Booth, or, your Displays) that get borrowed from storage, and are expected to return back to storage after each trade show.

ExhibitDay‘s default reservation policy prevents you from reserving a Capital Asset if it is already reserved for another event during the same reservation period.

Changing the Reservation Policy for a Capital Asset

In order to change the reservation policy for a given Capital Asset in your ExhibitDay workspace, click on [Manage Assets], then select the Capital Asset you would like to modify. On the Asset view page, click “Reservation Policy” under the extended menu of the tab strip.

Capital Asset Reservation Policies

There are three different Reservation Policies that can be set for a given Capital Asset: Strict, Moderate, and Liberal.

Strict (default policy)

The Asset is available for reservation only on dates when no other reservation is made.
Example: If the Asset is checked out or reserved from Feb 17, 2021, to Feb 21, 2021, no other reservation can be made during those dates (not even on the return date — Feb 21, 2020). The next date asset can be checked out or reserved will be the day after this Asset has been returned to storage — Feb 22, 2021.

Moderate

The Asset is available for reservation on dates when no other reservation is made, plus, the check-out and return date of all reservations (i.e. the asset shows as ‘Available for Reservation’ on the first and last day of a given reservation).
Example: If the Asset is checked out or reserved from Feb 17, 2021, to Feb 21, 2021, no other reservation can be made Feb 18, 2021 – Feb 20, 2021. This allows you to reserve the Asset for another event on the check-out date as well as the return date (e.g. the Asset arrives to storage on the morning of Feb 21, 2021, and gets checked out for another event the afternoon of Feb 21, 2021).

Liberal

No blocked dates — the Asset will always show as “Available for Reservation” (even if other/conflicting reservations exist).
Example: If the Asset is checked out or reserved from Feb 17, 2021, to Feb 21, 2021, the system will allow other reservations to be made during the same time period.

Sign up for a free ExhibitDay account to plan your trade shows and manage your trade show assets.
Searching for Your Events + Other ExhibitDay Updates

Based on user feedback, the following enhancements have been made in ExhibitDay.

Search for Events + Recently Viewed

The new Search button (top-right of the menu bar) will pop open a search dialog that allows you to search for your events by name. In this new dialog, you’ll also notice a list of the last few events that you’ve viewed in your ExhibitDay workspace.

Find Trade Shows and Exhibits

Regular (non-cursive) Font for your Notes Fields

If you’d rather not use the default cursive font in the Notes fields (under the Info, Booth, Budget, and ROI tabs), you can now go to your Workspace Settings and disable that option.

Event Notes Regular Font

Multi-line Custom Fields

ExhibitDay’s Custom Fields have been enhanced to allow for multi-line text.
In order to enable multi-line mode for a Custom Field: go to Workspace Settings > Customize Event Fields. Then, click the pencil icon for the Custom Field you’d like to edit and change it to “Multi-line text field”.

Multi-line Custom Fields

[All] Button for the Event [Playbook] Tab

You can now view the full Event Playbook (prep schedule, event schedule, and the schedule afterward) — all at once. Click the new [All] button under the Playbook tab of any Event to see the full Playbook.

Event Playbook All Days Button

Sign up for a free ExhibitDay account to plan your trade shows and collaborate on tasks with your event team.

Trade Show Asset Management

We’re excited to announce the [Beta] release of ExhibitDay’s Asset Management Module.

You can now track and manage your Capital Assets (like your booth and displays) as well as Collateral (like swag and marketing material) in ExhibitDay.

Reserving Assets for Your Trade Shows

You can reserve assets for your trade shows under each Event’s [Assets] tab.

Asset Management Access Control

Like all other ExhibitDay modules, access to Managing Assets and Making Reservations for Events can be controlled in the team workspace > user management area.

Sign up for a free ExhibitDay account to plan your trade shows and collaborate on tasks with your event team.

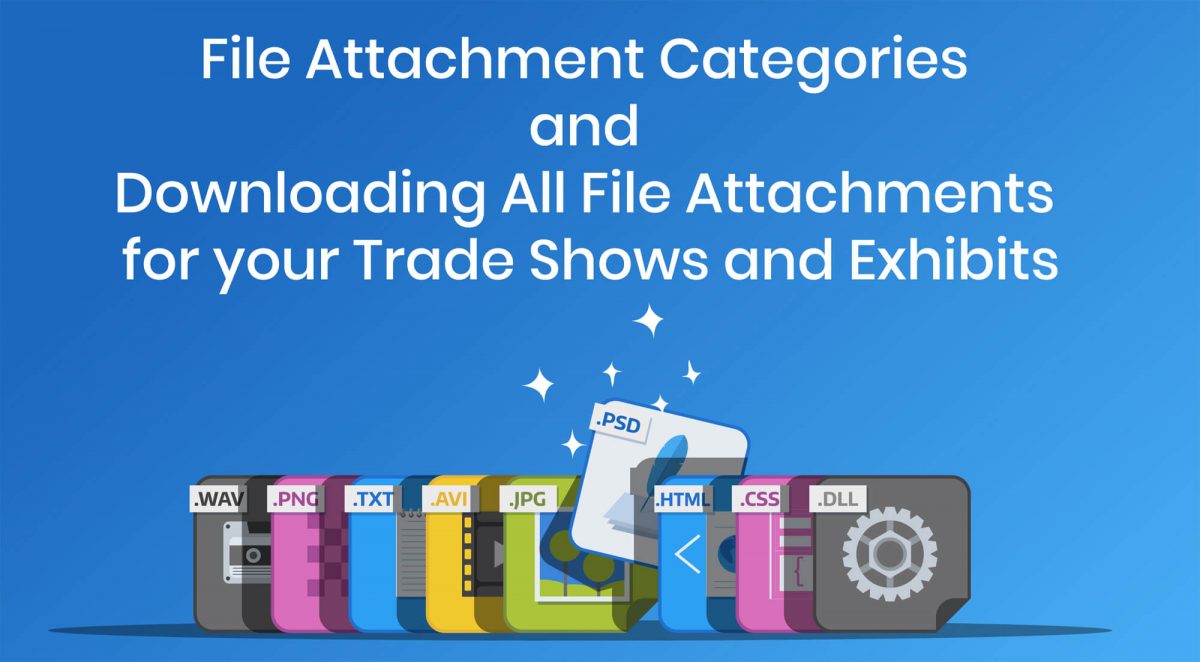
Attachment Categories and Downloading All File Attachments for your Events

The file attachments for events just got two new enhancements: Attachment Categories, and the ability to download all attachments at once.

  1. Attachment Categories – Attachments (under the Event [Attachments] tab) are now organized into their corresponding categories.
  2. Download All – You can now download all the attachments for your events at once (in .zip format).

Attachment Categories

File attachments for each event are organized into the following categories:

  • General Attachments – General file attachments that are uploaded directly from each Event’s attachment tab.
  • Event Info Attachments – Attachments from fields under the Event [Info] tab (like Exhibitor Prospectus, Exhibit Hall Floor Plan, etc.)
  • Booth/Booth Service Attachments – i.e. Booth invoices.
  • Travel Attachments – i.e. Hotel/Flight invoices.
  • Shipment Attachments i.e. invoices for Shipments.
  • Sponsorship Attachments – i.e. invoices for Sponsorships.
  • Other/Misc. Expenses Attachments – i.e. invoices for mischievous expenses.
Event File Attachments

Download All File Attachments

Downloading All Attachments for a Given Event:

To download all the attachments for a given event, click on the [Download All] button (under the [Attachments] tab of the event).

Downloading All Attachments for All Events:

To download all file attachments for all your events, go to “Workspace Settings” from the top menu, and click “Export Workspace Data” from the extended menu on the Workspace Settings page; then, click the “Export All Attachments” link.

The ability to attach files is included in the ExhibitDay Professional and Premium plan.

Sign up for a free ExhibitDay account to plan your trade shows and collaborate on tasks with your event team.